

Nobody messes with the 2IC and his Pioneers, nobody.....
This battle was fought at Perkins Hobby House in Petawawa at 1650 LW in preparation for the upcoming tournament. Louie was playing his Hells Highway Tanks against my Panzer Pioneers backed up by Panthers. We rolled up Fighting Withdrawal and I would be defending, with mines and dig in Pioneers, so Louie was going to have his work cut out for him. |
Panzer Pioneers
|
Hell's Highway Armoured Squadron
|
SETUP AND DEPLOYMENT
 |
| The objectives are in the near ground in the woods, along the central road and on the far side of the board on the road |
 |
| The first sherman platoon on the far right |
 |
| Central platoon with 2IC and the infantry |
 |
| Sherman platoon on the left supporting the UCs |
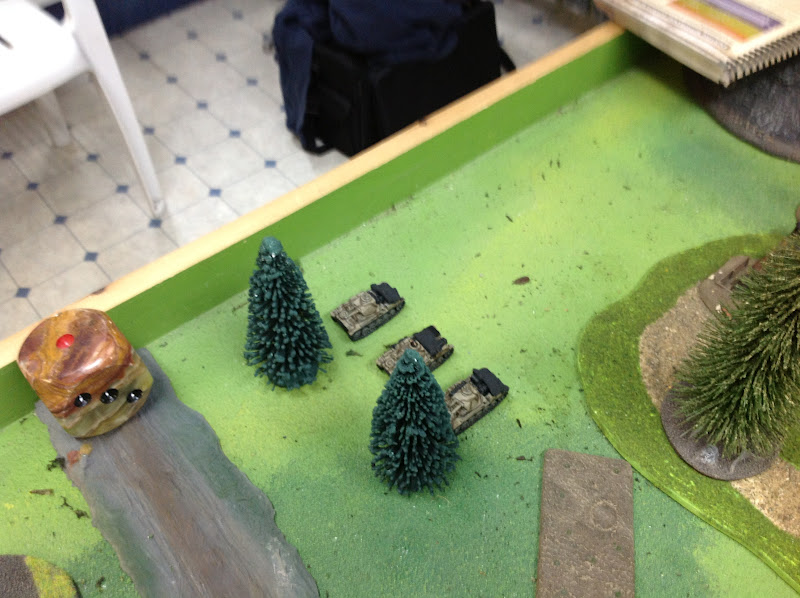 |
| Panzer IIs on the right flank |
 |
| Pioneers with Panthers in a defensive line holind two objectives |
 |
| Pioneers hold the remaining objective |
Panzer Pioneers
|
Hell's Highway Armoured Squadron
|
| Panzer Pioneers: Marders were held in ambush ready to assist where ever Louie decided to push. I just hoped that I had the chance to keep Louie at bay in time to pull objectives away. The nice thing about 5 platoons mean I'm going to lose a platoon turn 4 and then another one turn 7. Hell's Highway Armoured Squadron: The Shermans were spread out across the entire frontage ready to advance where ever the Pioneers were thin. Thankfully, this deployment also meant that it would be harder for Louie to concentrate his force against a single point of my defence. | |
TURN 1
 |
| Panzers use their recce move and double time behind the friendly lines almost redeploying to the other side of the battlefield |
 |
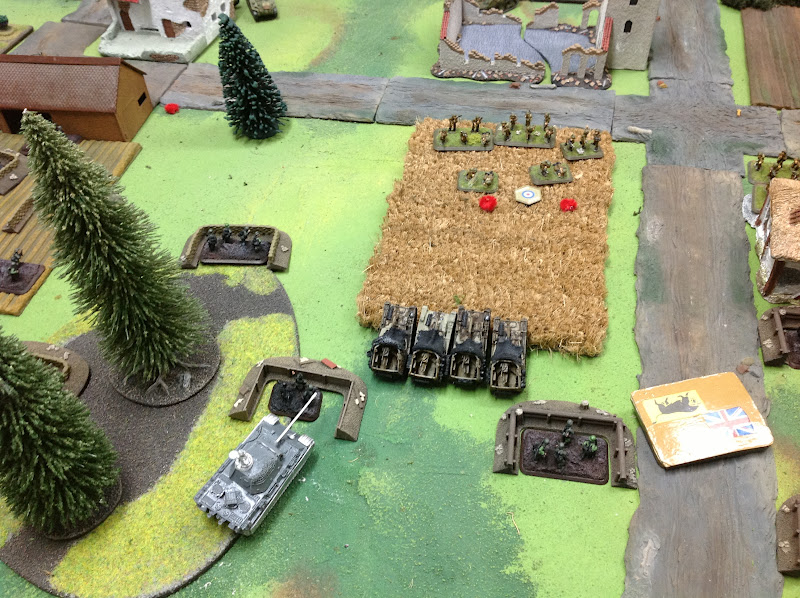
| Panthers advance using the wheat fields as cover |
 |
| Shermans and UCs advance on the left ready to face the dug in Pioneers |
 |
| Shermans on the right flank advance slowly wary of the Panthers fury |
| Panzer Pioneers |
Hell's Highway Armoured Squadron |
| Panzer Pioneers: The Panthers don't have any targets, so they slowly advance. The Panzer IIs move to the other side the battlefield to engage the UCs. The Marders remain in ambush. Hell's Highway Armoured Squadron: Everything advances but very cautious of the Panthers laser like main gun. The UCs are going to get into position to lift gone to ground and whittle the Pioneers down. | |
TURN 2
 |
| Panzer IIs open fire knocking out a UC |
 |
| Shermans ready to shell the Pioneers with their main guns |
 |
| Shermans and Infantry advance unopposed |
| Panzer Pioneers |
Hell's Highway Armoured Squadron
|
| Panzer Pioneers: Panzer IIs moved into position to hammer the UCs while the Panthers continue to advance. All the Pioneers continue to stay in their fox holes. Hell's Highway Armoured Squadron: A single Panther was left guarding the right flank while the remaining teams continue to advance on the left flank. Which means there is no safe place to advance. Once the infantry get closer using the vineyards and the wheatfields it will be a different story. | |
TURN 3
 |
| UCs get to close and the Pionners rush from their fox holes and knock them out! |
 |
| Panthers finally get into position and knock out the OC |
 |
| Infantry continue to advance while the Shermans escorts hang back |
 |
| The Shermans very wary of the Panthers |
Panzer Pioneers
|
Hell's Highway Armoured Squadron
|
| Panzer Pioneers: The UCs gone its going to be much harder for the tanks to dig out the Pioneers. One of the Panzer IIs is lost due to Sherman fire, which works well as they are going to be the platoon withdrawn. Hell's Highway Armoured Squadron: Shermans are able to take out a Panzer II but little else is done. The infantry continue to advance without issue and the next turn will see the first platoon withdrawn. | |
TURN 4
 |
| Marders finally sping their ambush hosing the Brit infantry |
 |
| Panthers and assaulting Pioneers knock out a Firefly and Sherman losing one of their own in the process |
 |
| Shermans hiding from the Panthers guns |
Panzer Pioneers
|
Hell's Highway Armoured Squadron
|
| Panzer Pioneers: Having the OC within command distance allowed for a critical reroll for the tank assault. It worked well, knocking out a tank and causing them to be pushed back. The Marders and MG teams open fire and pinned the Brit infantry. Hell's Highway Armoured Squadron: With the Marders out in the open, the Shermans could now advance on the objective without the same concern it would have eariler. The left flank isn't fairing well, with the loss of the OC and 2 tanks. | |
TURN 5
 |
| Panthers begin to move to support the infantry in the case that the Brit infantry assault |
 |
| Firefly begins to slowly advance in the wake of the Pioneers moving back to their trenches |
 |
| Shermans on the right begin to advance ready to snag the objective |
Panzer Pioneers
|
Hell's Highway Armoured Squadron
|
| Panzer Pioneers: Panthers can now be moved to support the centre and right flank. Pioneers are able to get back into their trenches. One of the Panthers bogged and it slowed my ability to reposition the tanks to the right flank. Hell's Highway Armoured Squadron: The infantry in the centre unpinned and advanced to assault only to fail their motivation and be caught in the open. The Shermans start dueling with the Marders and despite having rerolls Louie couldn't hit the board side of a barn. | |
TURN 6
 |
| Marders open fire on the Shermans knocking them out while other ones hammer the infantry knocking them out |
 |
| Shemans push towards the objective |
 |
| Shermans on the left flank still holding back to make sure they don't get taken out |
Panzer Pioneers
|
Hell's Highway Armoured Squadron
|
| Panzer Pioneers: I was able to pull the central objective away just in case the Shermans rushed the centre. It was silly watching Louie fail saves. I'm not looking forward to when he get the opposite luck going. Hell's Highway Armoured Squadron: Couldn't make a 3+ save if his life depended on it. With 2 platoons gone and one at half strength, things aren't looking good. But on the right flank, there is a whole platoon with only a few stands of infantry and the 2IC protecting the objective. | |
TURN 7
 |
| Marders continue to duel with the Shermans knocking another one out |
|
| Sherman platoon make one last attempt to break the Pioneers only be have the platoon lost in the counter assault |
Panzer Pioneers
|
Hell's Highway Armoured Squadron
|
| Panzer Pioneers: Louie couldn't hit the dig in veterans and when he did they simply made their saves. When he assaulted he bogged one on the way in, lost another bailed to defensive fire and then only hit once. I countered and destroyed one and bailed the other. All tanks destroyed and with that it was the game. Hell's Highway Armoured Squadron: My Kingdom for some decent dice! I know that everyone says you shouldn't blame the dice, but I think Louie had a decent agrument, they were aweful. | |
| In the end it was a 6-1 game for me. But I can't stress this enough, Louie's dice were terrible. I could see this army being very difficult to deal with in other missions. I have managed to get almost everything primed and now need to go on a major painting blitx to get everything done in time for the upcoming tournaments. I'll post pictures as I get things done. |
Generated by WWPD's BatRepper Software.
Man I need to paint too. Great report!
ReplyDeleteGreat read! That's a scary list Drew, I hates me some panthers.
ReplyDelete